How to make chocolate moulds: mould types, tips & more
- Posted on
- Posted in Food

Welcome to the delightful world of homemade chocolates, where the joy of crafting delectable treats knows no bounds. Whether it's a festive holiday event or simply spending quality time with your kids, creating chocolates at home is a cherished tradition.
Welcome to the delightful realm of homemade chocolates, where the pleasure of creating delicious treats knows no limits. Whether it's a festive holiday gathering or simply enjoying quality time with your children, making chocolates at home is a cherished tradition.
In this article, we'll delve into the art of chocolate making with moulds. We'll cover everything from using chocolate moulds, exploring different types of moulds, essential techniques for tempering chocolate, tips for perfecting the demoulding process, and much more.
Prepare yourself for a chocolate-making adventure brimming with sweetness and satisfaction. Let's get started!
What are chocolate moulds?
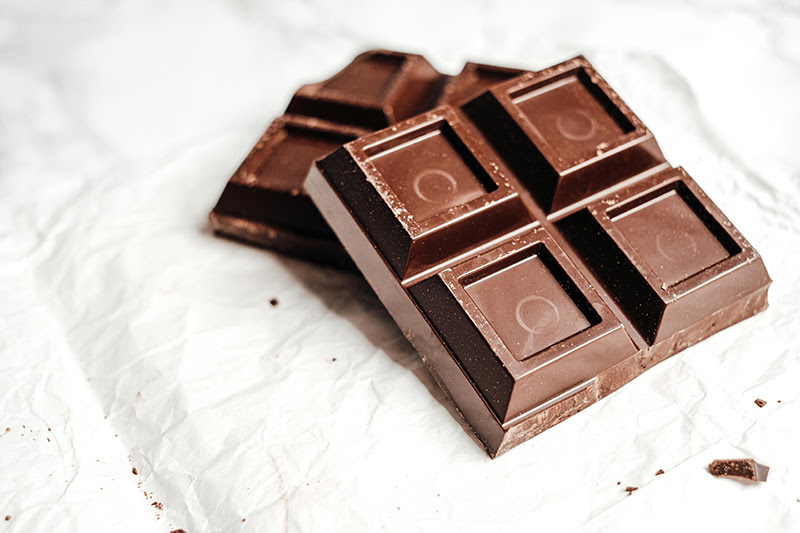
Chocolate moulds, available in a wide range of shapes and sizes, are essential tools for making homemade chocolate. You simply pour melted chocolate into these moulds to create unique shapes with ease. These moulds are crafted from materials such as silicone, metal, plastic, or polycarbonate. They are versatile, reusable, and straightforward to use. When selecting moulds, consider factors like durability, temperature resistance, and whether the chocolate is likely to stick.
Since chocolates make ideal gifts for special occasions, using custom moulds or bar moulds can make the end result even more special. Therefore, mould design is another important aspect to consider when choosing a chocolate mould. However, if you’re a beginner, opting for moulds with simple designs can help make the process easier.
Types of chocolate moulds
Now let’s explore some popular materials used for chocolate moulds, each with its own advantages and disadvantages. Choose the material based on your recipe and the requirements for your chocolate.
Silicone moulds
Valued for their flexibility and ease of use, silicone chocolate moulds are a favourite among chocolatiers. Reusable and eco-friendly, they come in various shapes and designs, making them perfect for crafting custom chocolate creations. Made from food-grade silicone, they have non-stick properties, ensuring easy release when demoulding the chocolate. With excellent temperature and moisture resistance, they’re ideal for both freezing and heating, making them a versatile option for chocolate making and baking.
Metal moulds
Although less common these days, metal chocolate moulds are renowned for their durability, heat conductivity, and precision. Their rigid construction helps maintain the shape of the chocolate during cooling, resulting in flawless finished products. With their superior heat conductivity, metal moulds ensure quick and even chocolate setting, making them ideal for creating intricate designs with ease.
Polyethylene (PET) moulds
PET moulds are ideal for beginners and enthusiasts due to their affordability and lightweight nature. They offer simplicity and convenience, making it easy to find specific shapes and experiment with intricate designs. Additionally, their translucent nature allows you to monitor the chocolate's condition easily, reducing the need for guesswork during the making process.
Polycarbonate (PC) moulds
Favoured by many professionals, polycarbonate moulds are durable and can give chocolates a glossy finish. They are excellent for detailed designs without creating uneven textures. Unlike some other plastic moulds, they are heavier and more robust, ensuring that chocolates retain a sharp and precise appearance.
Step-by-step guide: making chocolates with moulds
Preparation
Before you start moulding chocolate, it’s important to gather the necessary tools.
Moulded chocolate tools:
- Several chocolate moulds
- Heatproof bowl or pot for melting chocolate
- Spatula or spoon for stirring
- Kitchen thermometer for tempering (if needed)
When choosing chocolate, there are primarily two types to consider: couverture chocolate and compound chocolate. Couverture chocolate contains a higher percentage of cocoa butter, making it ideal for moulding and tempering. In contrast, compound chocolate, also known as confectionery chocolate, contains vegetable fats instead of cocoa butter. While compound chocolate is easier to work with and less expensive, it lacks the rich flavour and smooth texture of couverture chocolate.
For beginners, it is advisable to start with compound chocolate due to its forgiving nature and ease of use. However, as your skills progress, experimenting with couverture chocolate can lead to more refined and flavourful creations.
At the same time, prepare the moulds for use. Ensure they are clean and free of any dust, fingerprints, or residue from previous chocolate batches to prevent sticking during demoulding. Wash them with warm, soapy water, then dry thoroughly before use. If your moulds have intricate designs or fine details, consider lightly greasing them with cocoa butter or a non-stick cooking spray to facilitate the easy release of the chocolates.
Tempering and melting chocolate for moulds
The next step is to melt the chocolate to pour into the moulds. Here we will explain the difference between melting and tempering.
Melting
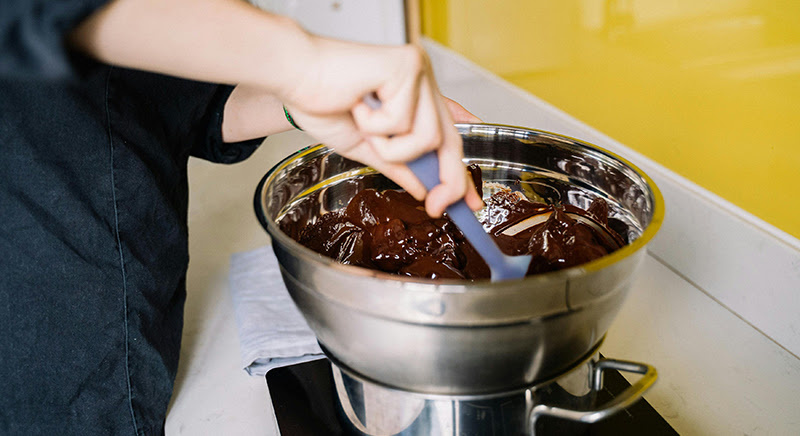
Melting chocolate simply involves heating it until it reaches a liquid state, ready for moulding or dipping. The goal of melting chocolate is to achieve a smooth, pourable consistency without burning or overheating.
To melt the chocolate evenly and prevent overheating, chop the chocolate into small, uniform pieces and use a gentle heat source. If using a microwave, set it to a low power setting to melt the chocolate slowly and evenly. Also, ensure that all utensils are completely dry, as even a small amount of water can cause the chocolate to seize.
Tempering
Tempering chocolate, on the other hand, is a more precise process that involves heating and cooling the chocolate to specific temperatures to stabilise its cocoa butter crystals. This ensures that the chocolate sets properly, resulting in a glossy finish and a crisp snap when bitten into. Tempering is crucial for creating professional-looking chocolates with a smooth texture and good shelf life. Here’s how to temper chocolate:
Double boiler (seeding) method: Melt two-thirds of the chocolate, then gradually add the remaining one-third until smooth. Once complete, raise the temperature to the working level.
Marble tabletop method: Pour two-thirds of the melted chocolate onto a slab, stir until thickened, then add the rest, mixing until uniform.
Microwave method: Microwave two-thirds of the chocolate in intervals, stirring until nearly melted, then mix with the reserved chocolate until smooth.
As with regular melting, chop the chocolate into uniformly small pieces before tempering. It is also crucial to monitor the temperature, ensuring it reaches the specific levels required for dark, milk, or white chocolate. To check if the chocolate is properly tempered, spread a small amount thinly on parchment paper and allow it to set at room temperature. It should have a glossy finish and snap cleanly when broken.
Pouring the chocolate
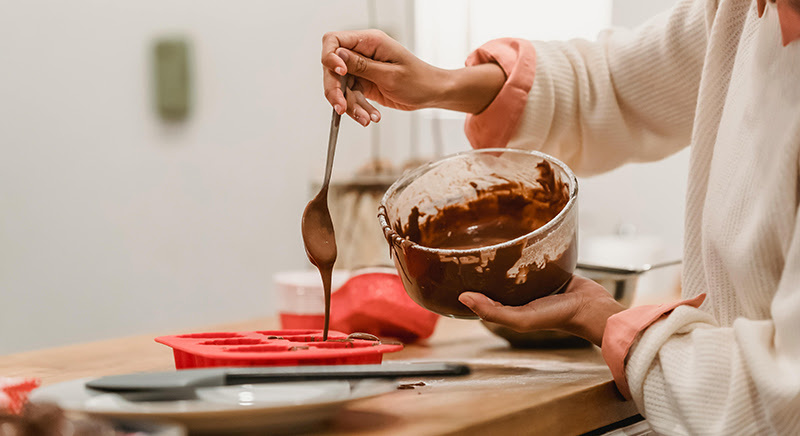
To ensure even distribution and avoid messy spills, consider using a piping bag or a squeeze bottle. Carefully fill each mould cavity, leaving a little space at the top to avoid overflow. Once every cavity is filled, gently tap the mould on a flat surface. This helps release any air bubbles trapped within the chocolate, preventing the formation of dull craters in your final product.
For layered chocolates or those with special fillings, now is the time to add them. Before the chocolate sets completely, use your piping bag or a spoon to add contrasting layers of coloured chocolate, rich ganache, or creamy caramel. You can also incorporate exciting surprises like chopped nuts, dried fruit, or even bits of other chocolates to add extra texture and flavour.
With a bit of creativity, you can transform the results into a canvas for endless delicious possibilities.
Cooling and demoulding
To set your chocolates, place the mould on a level surface inside the fridge for a minimum of 15-20 minutes.
Avoid disturbing them during cooling, as allowing the chocolate to cool undisturbed ensures a clean and crisp finish. Don’t leave the chocolates in the fridge for too long, as water droplets may form on the surface, potentially ruining the glossy finish.
Once the chocolates are properly cooled and solidified, remove them from the fridge. Then gently flex the mould and tap it upside down to release the chocolates more easily.
For successful demoulding, temperature control is crucial for both the moulds and the chocolate. If the mould is too cold or too hot, it can cause the chocolate to stick stubbornly or even crack. Irregular mould temperatures can lead to uneven solidification of the chocolate or result in the chocolate losing its temper. Proper tempering of the chocolate is essential for a smooth demoulding experience, as untempered chocolate can be sticky and difficult to remove from the mould.
Unleash your creativity with custom chocolate moulds
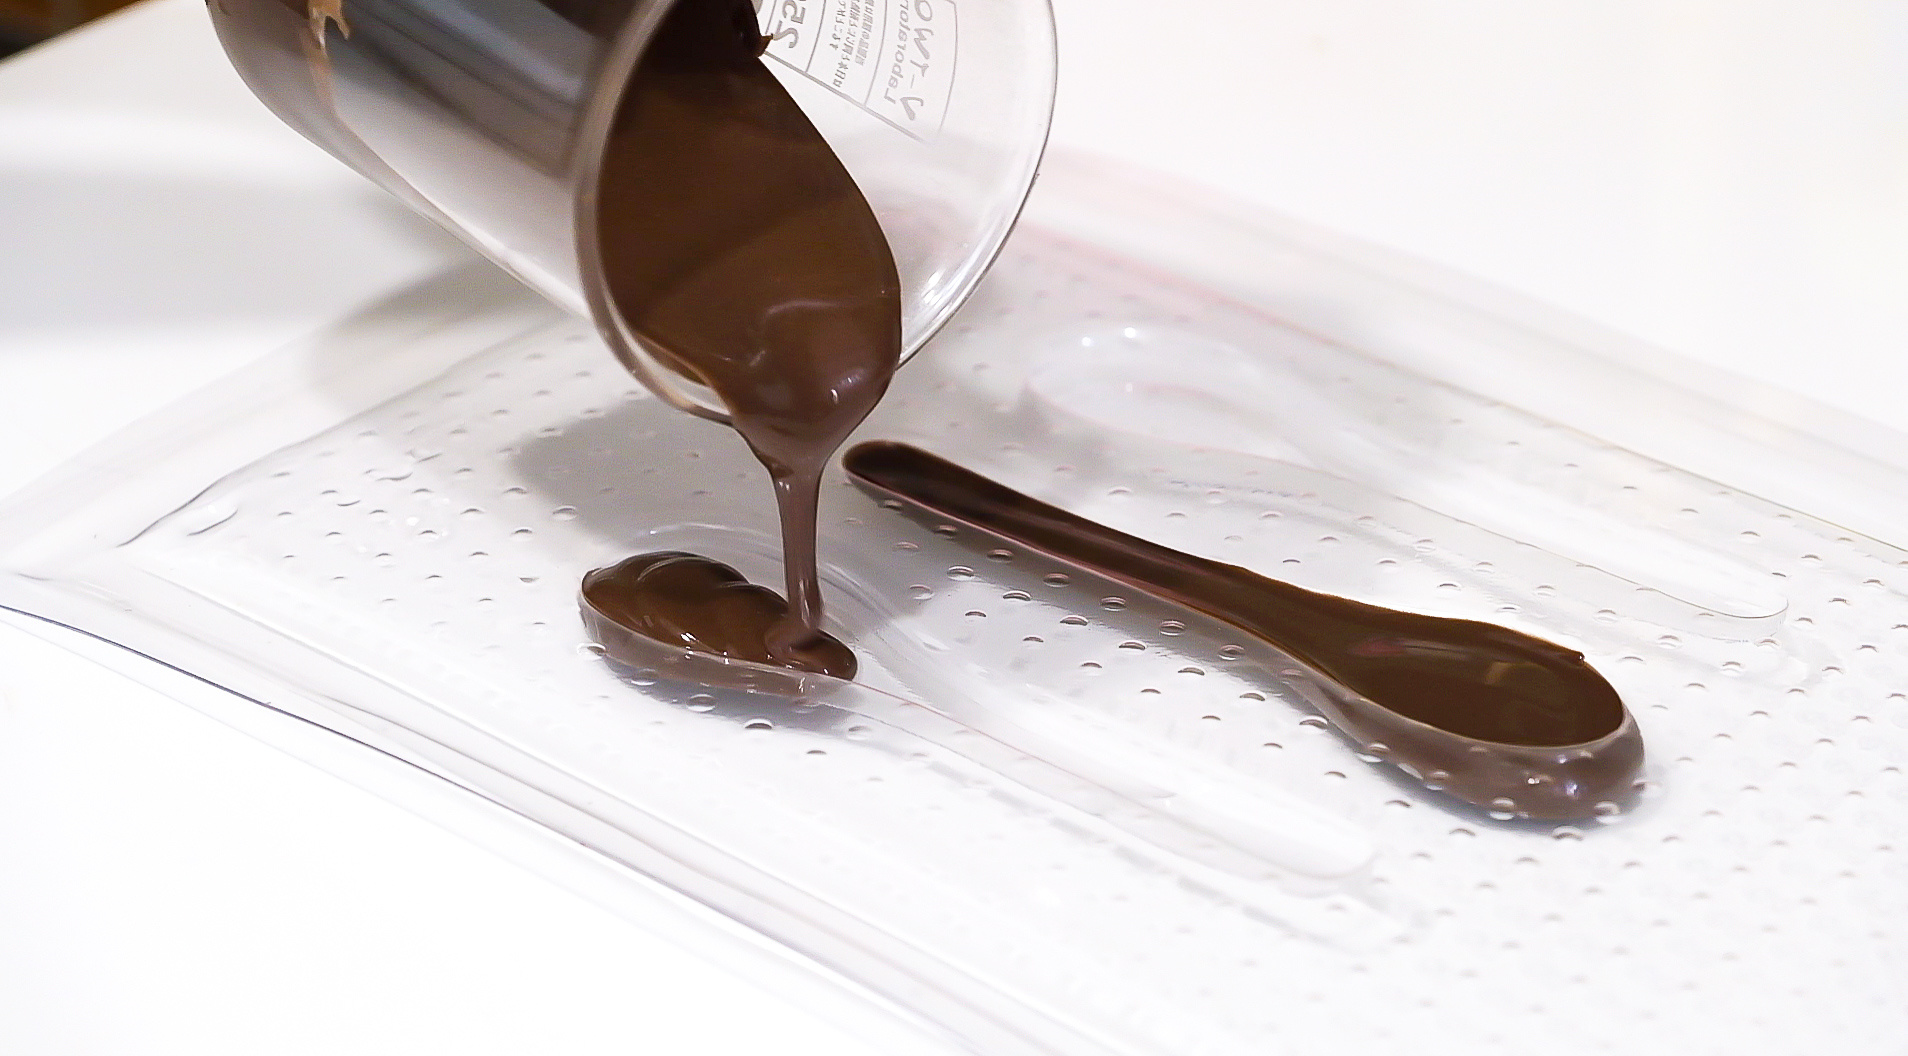
Are you tired of making chocolates with the same commercial moulds over and over again? It’s time to ditch the dull and predictable store-bought moulds and embrace custom chocolate moulds, where creativity knows no bounds!
With bespoke moulds, you have the power to infuse your chocolates with personality and charm, creating gifts that truly speak from the heart.
Imagine surprising your loved ones with chocolates moulded into their initials, favourite symbols, or heartfelt messages. Personalised chocolates add a special touch that speaks volumes, making them ideal for birthdays, anniversaries, or simply showing someone you care. Using custom moulds with children makes chocolate making a fun and engaging activity. They'll love the hands-on experience and take pride in creating their unique chocolate designs.
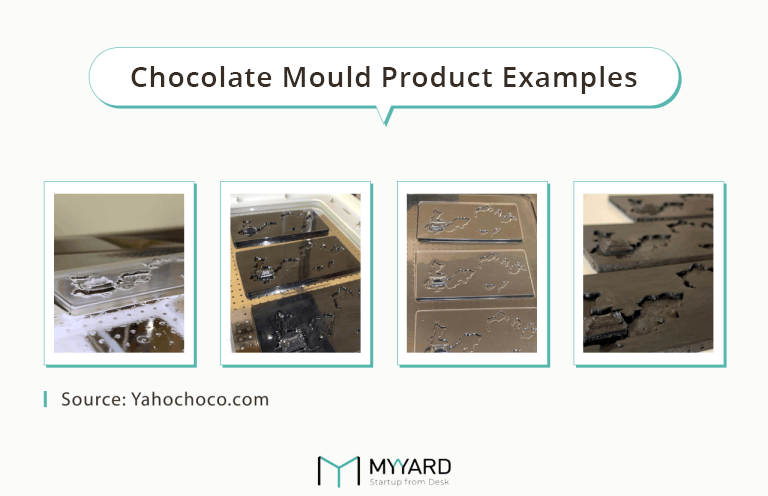
If the idea of making custom moulds for your chocolates feels overwhelming, don’t worry – MY YARD's FORMART smart vacuum formers are here to help. Our vacuum formers revolutionise mould-making by streamlining the process, making it faster, easier, and more accessible than ever before.
FORMART's compact design maximises workspace efficiency, while its industrial-grade vacuum pump ensures superior performance. Equipped with exclusive flow control technology and two suction modes, it offers excellent flexibility for users of all levels. Its automatic mould-releasing function simplifies demoulding, thanks to a built-in directional valve that effortlessly reverses and blows. Making your own custom moulds out of PET is child’s play.
MY YARD vacuum forming machines offer unmatched simplicity, speed, and efficiency. Start making your personalised chocolate moulds in any shape you desire.
Create your own chocolate masterpieces with custom moulds
Making chocolates at home with custom moulds is a delightful and rewarding experience. From preparing the perfect chocolate to pouring it into moulds, cooling, and demoulding, each step offers an opportunity for creativity and experimentation. With the right tools and techniques, anyone can master the art of chocolate making, turning simple ingredients into delectable treats that delight the senses.
Enjoy the ease and speed of creating unique chocolate shapes with custom moulds, tailored perfectly to your taste and imagination. With MY YARD’s FORMART vacuum formers, the possibilities are endless. Whether you’re a beginner or a seasoned chocolatier, our products empower you to bring your wildest chocolate dreams to life.


